ConnectED Cloud Help Center
ConnectED Cloud Help Center
Password Changes
Click here to learn more about the recent upgrade to our password management system
List Builder
How-To
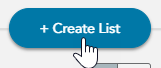
Creating a targeted education audience
Our ConnectED Cloud ListBuilder online tool lets you:
Steps

Steps

Before you start
Steps

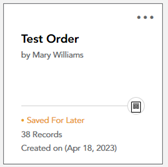
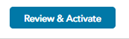
Purchasing a list (Activate)
Steps


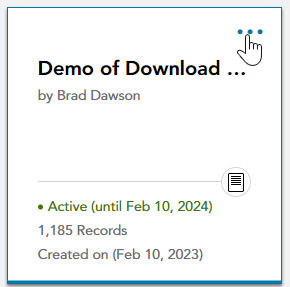
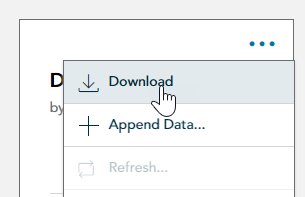
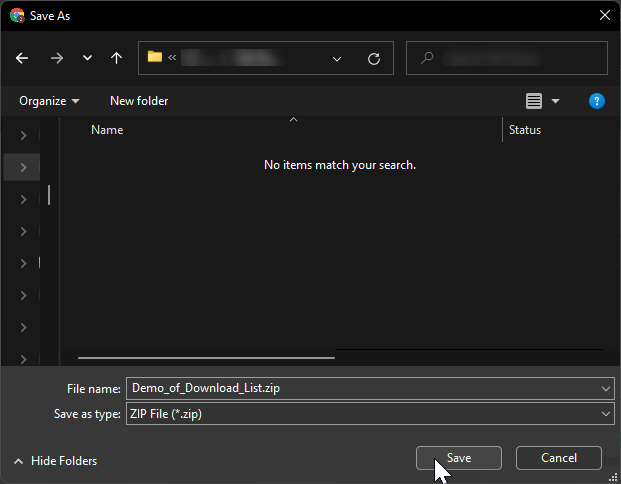
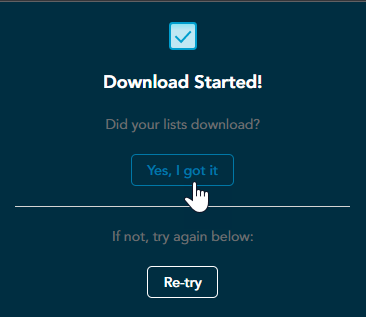
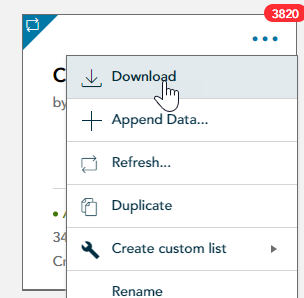
Downloading an activated list
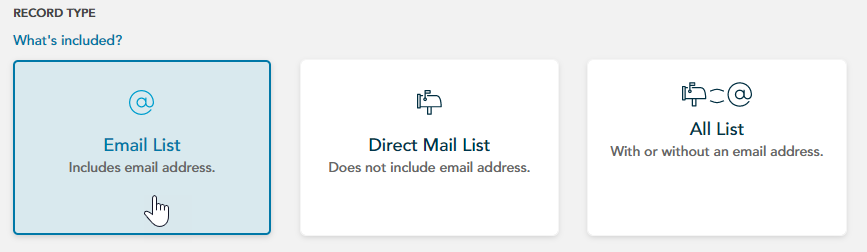
After creating a list, you can download it in a number of formats:
Before you start
Steps

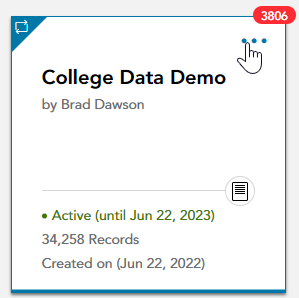
Refreshing an active Audience with either updated/deleted or new records
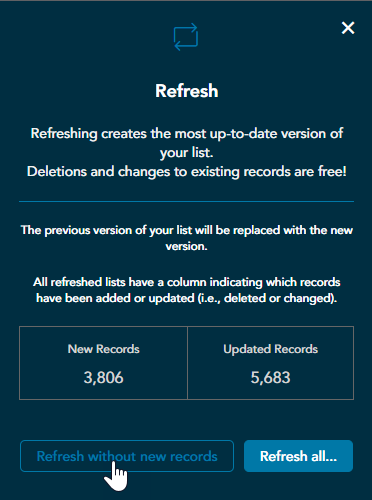
You will receive an email and dashboard alert whenever you have new or updated data on an active list, roughly every two weeks. To view this new data you can Refresh your list for free. A Refresh will add a new status field to your list to indicate if a record was updated or deleted. Additionally, you will have the option of using your credits for any new records that may have been added to your list.
Before you start
Steps

Before you start
Steps

Steps

FAQs
As much as you like! Credits are good for one year (i.e., the "Active Period"), so you can use your list as many times as you want within the Active Period.
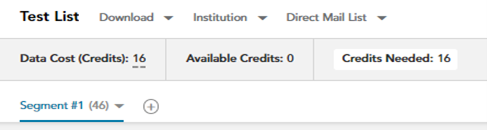
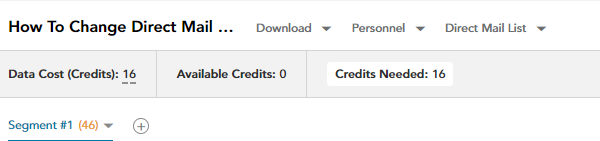
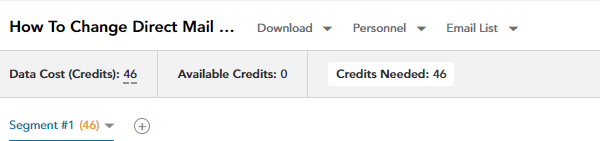
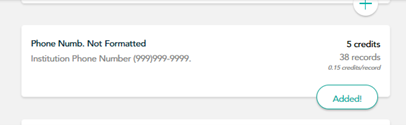
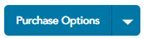
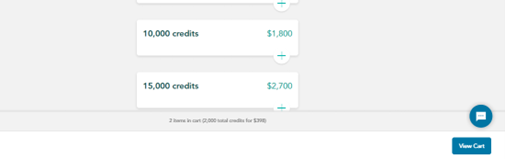
The number of records is determined by the criteria you use to build your list. A Records count is equivalent to the number of contact names you select in your segment or list. Credits are needed to fulfill a list and the number of Credits will need to be greater than or equal to the number of Records you want to download. You can purchase one of our ConnectED Data packs to add Credits to your account.
You can cap your list size with segmentation. Click on Segment in the upper lefthand corner. Then click on set cap and set your desired maximum record number.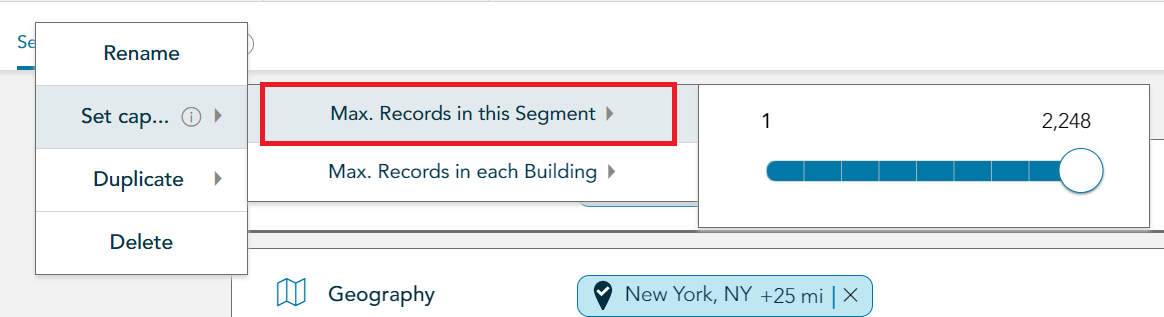
You will receive an email and dashboard alert whenever you have new or updated data on an active list, roughly every two weeks. To view this new data you can Refresh your list for free. A Refresh will add a new status field to your list to indicate if a record was updated or deleted. Additionally, you will have the option of using your credits for any new records that may have been added to your list.
If your subscription period is expired, your lists from the previous year will display as Expired on your dashboard. If you would like to reuse a previous list, then you will have the option to Duplicate the list, which will create a new list with the same criteria. Once duplicated, you will have the option to use credits to repurchase the duplicated list. If you do not have enough credits, then you will have the option to Repurchase more credits from the list. MDR, as commonplace practice as a data provider, seeds our files and seeds are used to ensure customers are complying with terms of use when using MDR data. You are not charged any credits for this added record.
This is the number of new names available for this list that you do not have already. You can refresh the list without taking any new records as well. If you take the new records, you will have to pay additional credits for those. If you click on the refresh link, it will bring a box up that shows you how many new records there are and how many changes to the list there are.
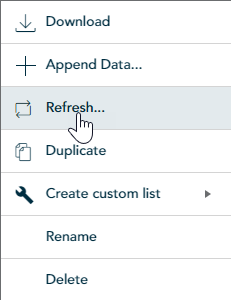
When a refresh is available, you have three options:
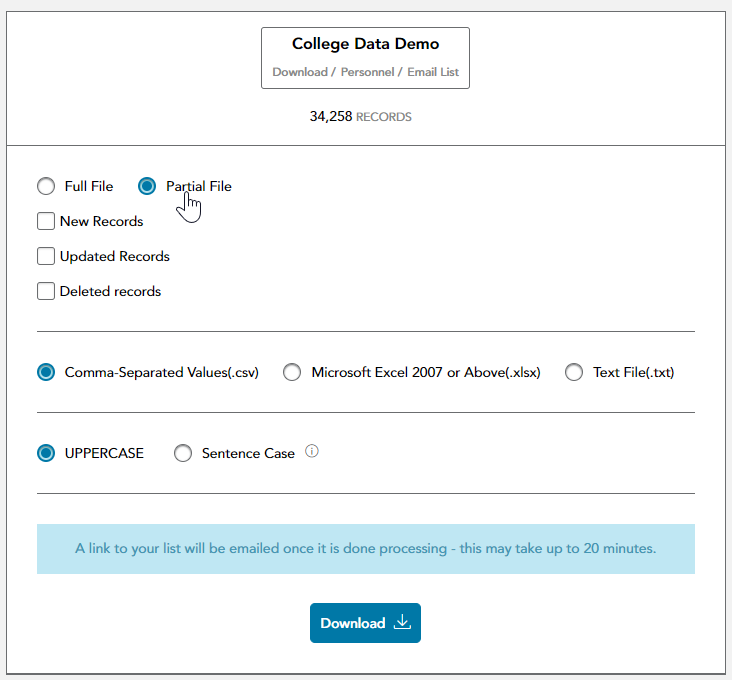
Once your list is activated, you can select Download to receive your file. You will be offered options for format (.csv, .xlsx or .txt) and also whether you want your output to be in Sentence Case or UPPER CASE.
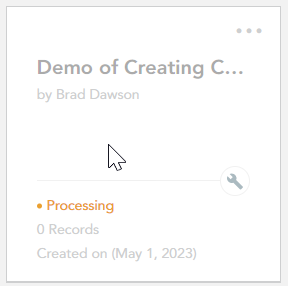
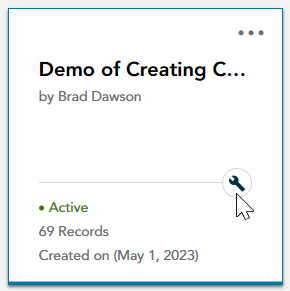
How Status is determined:
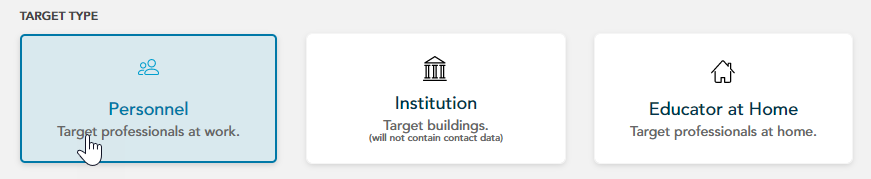
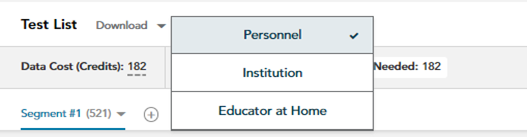
When selecting a target type of Personnel, you will receive the person information at a building. When selecting a target type of Institution, you will only receive building information, not person. See the FAQ What fields are included in a basic list? for more information.
|
As with any targeting data, things change. Personnel move between buildings, buildings change their contact information, etc. If an email is sent to an address that has changed it will typically bounce. For the best results, refresh your list prior to a campaign so that your records are up-to-date. We are constantly updating our database and provide changes to previously licensed records at no charge.

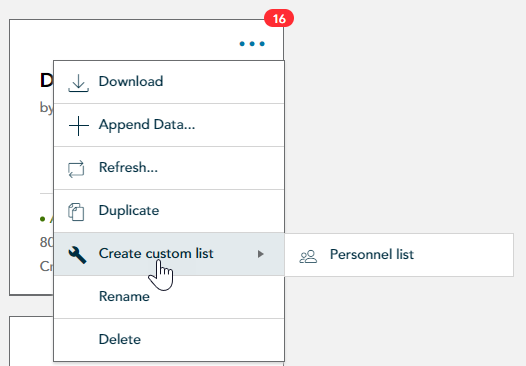
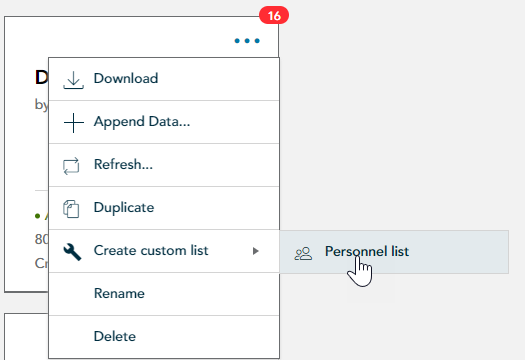
 ) are special lists created from an Active list to use as include/exclude on future lists; these cannot be edited or downloaded.
General Platform
FAQs
MDR is updating its data virtually every day. We consolidate these daily updates into a comprehensive batch refreshed every two weeks throughout the year. In an average month, we add more than 125,000 names, update job role assignments on ~113,000 names and add ~109,000 email addresses. The constant attention to keeping on top of data churn ensures MDR is best-in-class quality.
File Layout
|
|
|
Videos
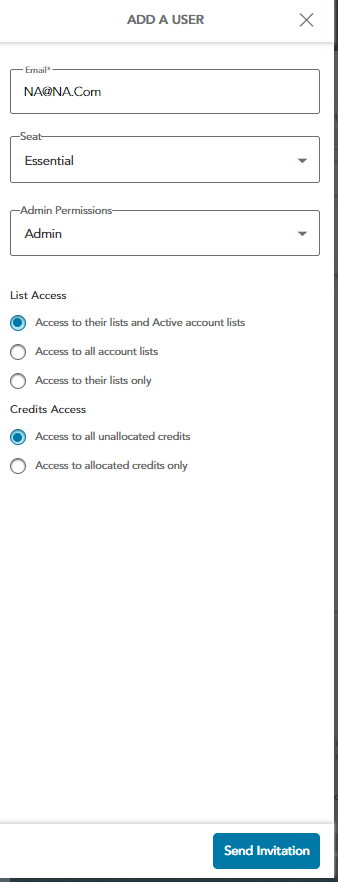
Manage Accounts
Get started with lists
Troubleshoot Lists
Buy more credits
For questions not answered above, please contact your Customer Service Representative.
(Monday - Friday, 9 a.m. - 5 p.m. ET)